
I have so much fabric. More than I know what to do with. Lately, I’ve been finding random pockets of need around the house. Mending the bedroom quilt, making more cloth wipes, drafting a 100 day project for myself. In comes the fabric! Recently, I was in need for snack cups for my son. We were using crappy old plastic measuring cups, but those didn’t make the cut when we moved across the country. I found a simple origami ‘bag’ demo while going through some old Pins. I realized it was PERFECT for a tiny snack bag. It could also be made into a to-go pouch. I adapted that into three different snack cup styles. A hand sewn one, a no sew version, and a simple no sew snap style! Let’s jump right into this DIY tutorial of reusable snack bags for our kids!

DIY : How to Sew a Reusable Snack Bag
This is such a simple DIY project, any skill level can make it! First, I’ll show the steps for the sewn version which is a bit more secure, in my opinion. Then the alternative versions and no sew will follow! All the steps are the same up until the securing and closure of the pouch.
Supplies:
-fabric (any size to suit your need, just be sure they’re equal in LxW)
-needle
-thread to match fabric
-button or snap set
-string (about a foot will suffice)
-hot glue gun (for no sew)
PICTURE OF SUPPLIES
Fold your first square of fabric diagonally


Next, take one corner and fold it across the triangle so it meets the opposite edge and creates a straight line across

Do the same with the other end of the triangle to meet to other now folded side

Here’s what that will look like
Now take one piece of the top point and fold it down into the inside of the two folds, like so


Tuck that into the fold to “open” the inside of the pouch

Here’s the base of your DIY reusable snack bag!
Now let’s secure the pouch’s seams so no snacks can fall out!
Sew a small line or simple stitch here

And another here

If you’re doing a no sew version, simply place a dot of glue in that spot
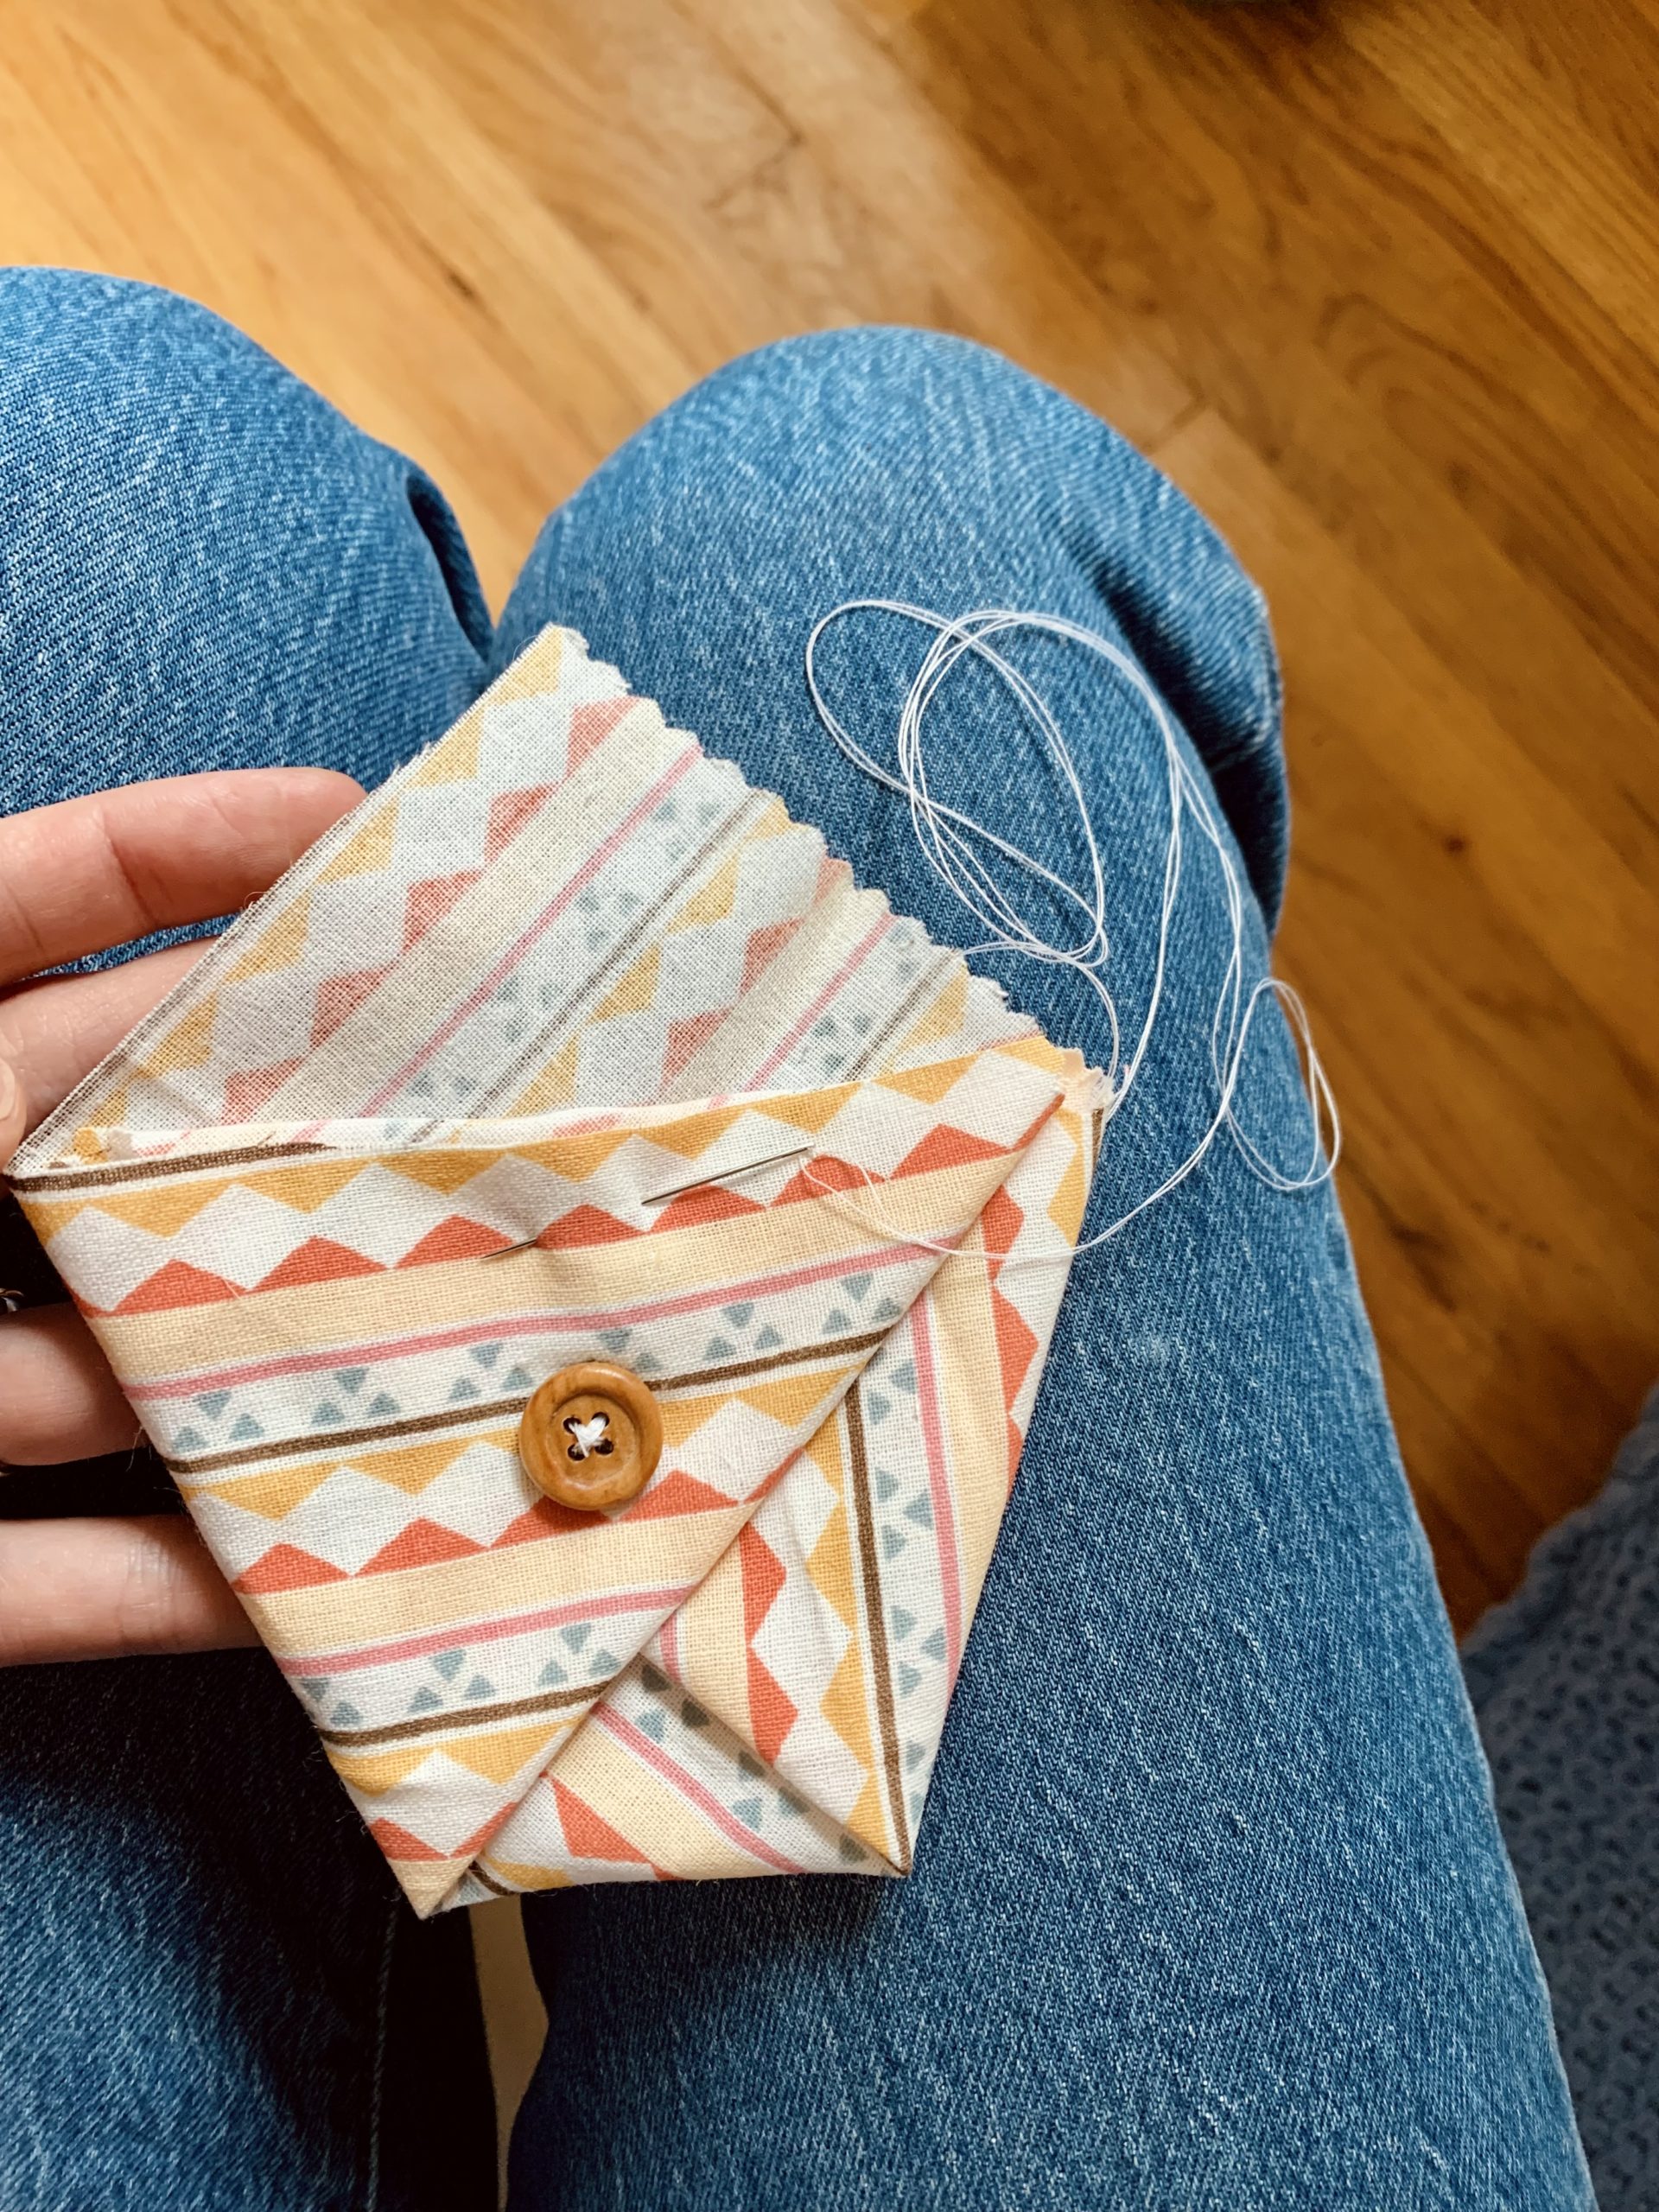
So the first version of the closure is a sewn button and wound string

Place the button in the center aligned with the top point of the pouch

Fold over the corner and sew the string onto the underside of the fold

Sew the button into place
And viola!
Your zero waste snack bag is ready!
Below is a similar variation with a loop closure at the top and sewn button


Pictured above is the full no sew version with snaps. For that just glue the snaps into their appropriate place and its that simple!


These have become so handy in my zero waste diaper bag for my toddler. I always end up bringing snacks as a back up plan if I can sense there may be a meltdown about to occur. They are a very helpful tool to have in your back pocket!
Have you ever done origami before this project? If so, let me know what you’ve tried below!

